Create a Distribution Group
1.In “Active teams and groups”
*Click on “Distribution list” and click on click on “Add a
group”.

2.Choose a group type
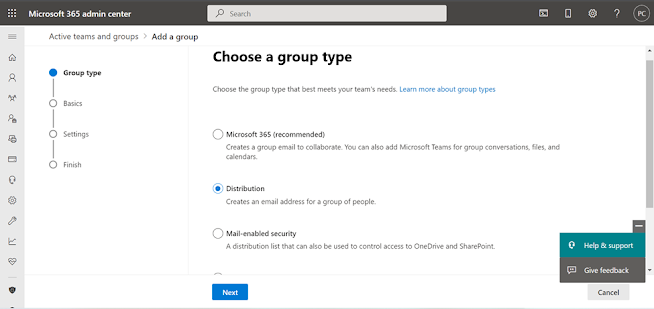
3.Fill the blanks with the required information.

4.Provide the group email address. You can choose the domain
from the drop-down list if you have more than one domain. If you want the group
to be reachable to the external users then you can select the option available
below the group email address.

5.Click on “Create Group”

6.Adding the group

7.A group has been created. Click on close

8.Now you will see a group name “IT” with the email address “it@chhetrysblog.onmicrosoft.com”

Looking on to the active users, there are only two users.
1.user1@chhetrysblog.onmicrosoft.com
2.admin@chhetrysblog.onmicrosoft.com

9.Now click on the group created.


11.Now lets add the members by clicking "+Add members"

12.Select the users that you want to add in the group and click on "Add".
For this demo, "admin" and "user1" are selected


Now let’s test by sending the email to the group email
address it@chhetrysblog.onmicrosoft.com
from the user admin@chhetrysblog.onmicrosoft.com
which is one of the member of IT group.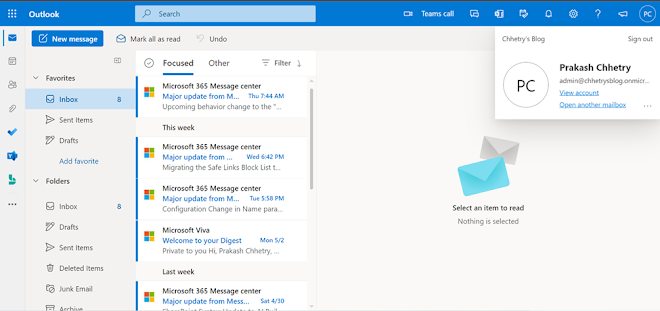
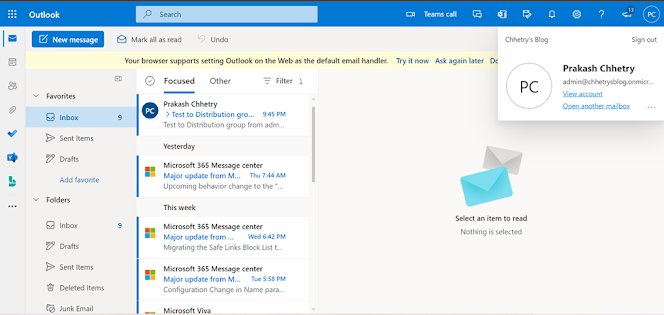
Trying to send email to “it@chhetrysblog.onmicrosoft.com” which is the distribution group email that was just created.

Soon after sending the email to the group from “admin user”
to “IT group”, a copy of email is received in inbox folder of admin@chhetrysblog.onmicrosoft.com.
It is because the admin user itself is also the member of the group thus when any of
the member try sending email to the group using the group email address. The
email is delivered to all the members of the group.