
How to add Company Branding to Microsoft 365 Sign-in page?
Company branding plays a very important role in achieving
the goal of in an organization as it encourages employees to embrace the brand
values and contribute to the brand promise.
Branding in Microsoft 365 login page will not only add up
the glance but also helps in mitigating the phishing attacks. With non-branding
sign in pages its very hard for the non-technical users to identify the
phishing site whereas the administrator has customized the sign-in page with
company branding its easy to recognize the screen.
Below sign in page represents the default page, lets learn on
how to customize the sign in page with the utilization of company branding
features.

Below are the steps on how to add company branding to
Microsoft 365 sign in page.
Inside Microsoft 365
admin center, Click on Azure Active
Directory.

A separate tab will open.
Now, click on Azure Active Directory.

On scrolling down, you will
see the Company branding.Inside the
company branding you will see the Default sign-in experience, Click on Customise.

Now, upload background image, favicon or choose background
color. The size and the format accepted are shown at the side of the square box
in the picture. If the picture size does not match then it will not accept. You
can also click on the information icon to see the details of each field.

Browse the pictures as below and click on Next. You can also directly click on
Review and Create.


On clicking Next,
you will see the default options set as below

Let me change the default options and see the result. You
can also upload the customize CSS to customize the branding experience, but in
this demo, I am not going to add any CSS.

You can also upload the Header
by browsing the picture from your local machine but remember it should
match the size. Now click on Next

Now, You can customize the
footer as per your requirement and Click on Next

Now, configure the Sign-in form by adding the picture from
your local computer.
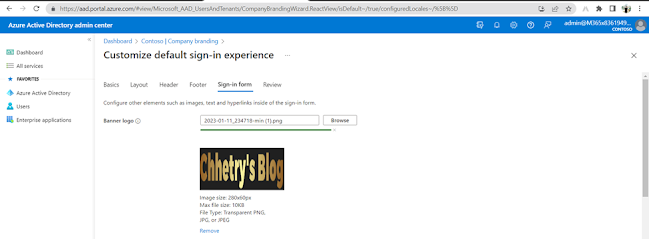

On scrolling down, you will also add the sign in page text. Type the text that
you want for example: “welcome to **** company. Authorize access only “etc. and
click on Next

In this step you can review all the configuration. If you
feel to change any thing then you can go back to the previous steps and change
the configuration. If you feel everything is Ok you can go a head and click on Create.

Creating

Once the configuration is completed, it will take some time
to reflect the changes. Sign out and Sign in to see the configuration changes.
